New Pet Owner’s Responsibility Guide
Welcoming a reptile into your home is exciting, but it also comes with important responsibilities. Here are key reminders to help you provide the best

In front of you sits a pristine vivarium. It’s got the relevant heating and lighting equipment installed, and everything works. What next?
Next we get to turn this wooden (or glass) box into a home for your new reptile pet. Obviously, what you choose will depend on the animal that’s going to live in this habitat, but there are some general guidelines that apply to every enclosure.
So we’re going to make the assumption that you have done your research, and you know the sort of conditions that your pet’s ancestors would have called home.
What is it that we’re trying to achieve? Obviously, a comfortable home for your pet. But before you start, take a few minutes to consider what overall effect you are trying to achieve. Is the vivarium in your living room, or a bedroom? Have you got a large collection, and the focus is to be on ease of maintenance?
This will guide the rest of your choices.
Substrate. Species appropriate – obviously – it’s worth taking a bit of time to get this right. The only way to absolutely guarantee that your pet will never ingest substrate is to not provide any; for arboreal animals that rarely come to the ground (I’m thinking mostly of chameleons here) this can work. For the others, the benefits usually far outweigh the risks, especially when you get your temperatures and UV parameters correct.
Take into account if your pet likes to burrow, or scratch around in the substrate to find food, or (like some skinks) actually swim in sand to hide and hunt.
Structure. These are the items that will shape and support the environment – rocks and larger branches. If you use rocks, arrange them on the base of the vivarium before you add the substrate; this stops your pet from digging underneath the rock and dropping it on its own head. Branches need to be secured so that climbing and/or digging activity won’t dislodge them.
Larger branches can provide a pleasing aesthetic to the vivarium; raised at one end, slope them down to the ground at the other to not only give your pet a basking area, but lead the eye from one side of the vivarium to the other.
Hides. These can range from shaped resin structures – including hides designed to hold damp moss to aid shedding – to piles of flat cork bark, vines, desert pieces, pools or coconut shells. Younger animals will always appreciate more hides, and if they can squeeze into a small space they’ll feel that bit more secure. Most lizards are happy that if they can’t see you then you can’t see them, so as long as they can get out of your eyeline they’re happy.
Others will hollow out the substrate from beneath a flat piece of decor, so be careful if you’re using rocks instead of vines.
Vivarium accessories and decor. Not just for looks, the lighter decorations around the vivarium fulfil several purposes. They act as extra cover, climbing frames and hiding places for prey items; don’t underestimate the amount of environmental enrichment you can provide with careful placement of these lighter items.
A word of caution. It’s always tempting to use the fake foliage available in discount stores to decorate your pet’s home, but these were never designed for the purpose of being vivarium accessories. They have never been tested for safety, and although lizards don’t chew like a puppy would, they are still at risk from ingesting parts that could be jagged or sharp, or toxic.
Bowls. Despite the fact that many of our pets originated from arid areas of the world, you should always, always provide a source of fresh clean water. The size and placement of the bowl is up to you, but do consider that a large water bowl in the warm end may raise humidity, and a light bowl is easy to tip over. Snakes often like to soak in their water bowl when they are shedding, and the size of the bowl should be chosen with this in mind.
Some animals appear to take an evil delight in filling their water bowls with substrate and making a terrible mess, but please don’t be tempted to take the bowl away from them. Check your temperatures (they might be trying to cool off), and if they are fine then just accept that making a mess is helping them to fulfil a natural behaviour.
Any animal that eats salad will appreciate an arrangement that keeps its food off the floor; flat bowls are available, although some people like to use flat slates. A bowl has a slight advantage in that it’s slightly harder for the animal to push its food all over the floor.
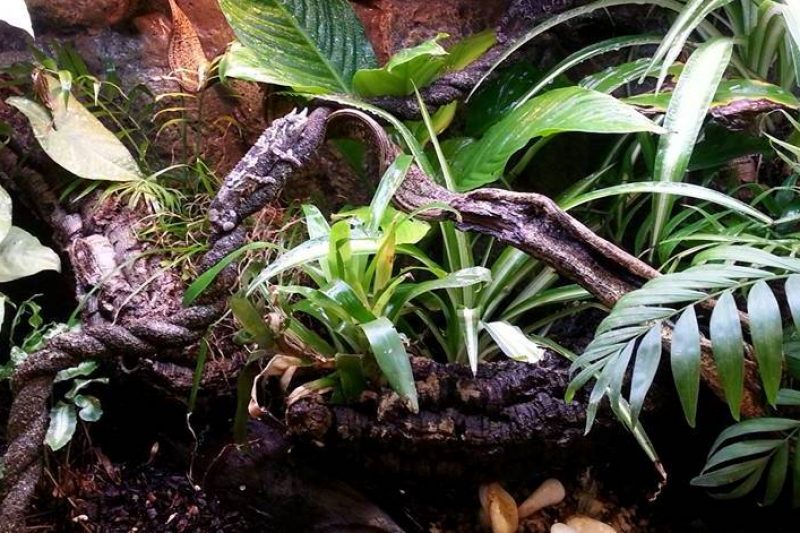
Placement. Lay out the vivarium accessories including the decor, the bowls and the plants, assemble it and stand back. Use a critical eye; if you saw this arrangement in someone else’s home, what would you think of it? If your reaction would be ‘Yes, I really like that!’ then you have achieved your objective. Take this time before your pet is put into its new home to really look at the habitat you have provided; a little time spent now may well save you a lot of time and fuss rearranging things later.
Put your pet in its new home, watch it explore – and enjoy!
Click here to view our range of vivarium setups which include vivarium accessories for your pet.

Welcoming a reptile into your home is exciting, but it also comes with important responsibilities. Here are key reminders to help you provide the best

Welcome to Evolution Reptiles’ guide to tarantula care! Whether you’re a seasoned arachnid enthusiast or just starting your journey into the fascinating world of these

When planning a trip, ensuring your snake is well cared for can be a major concern. Evolution Reptiles Snake Hotel in Kidlington, Oxfordshire, offers a
Copyright 2021 Evolution Reptiles
All rights reserved.